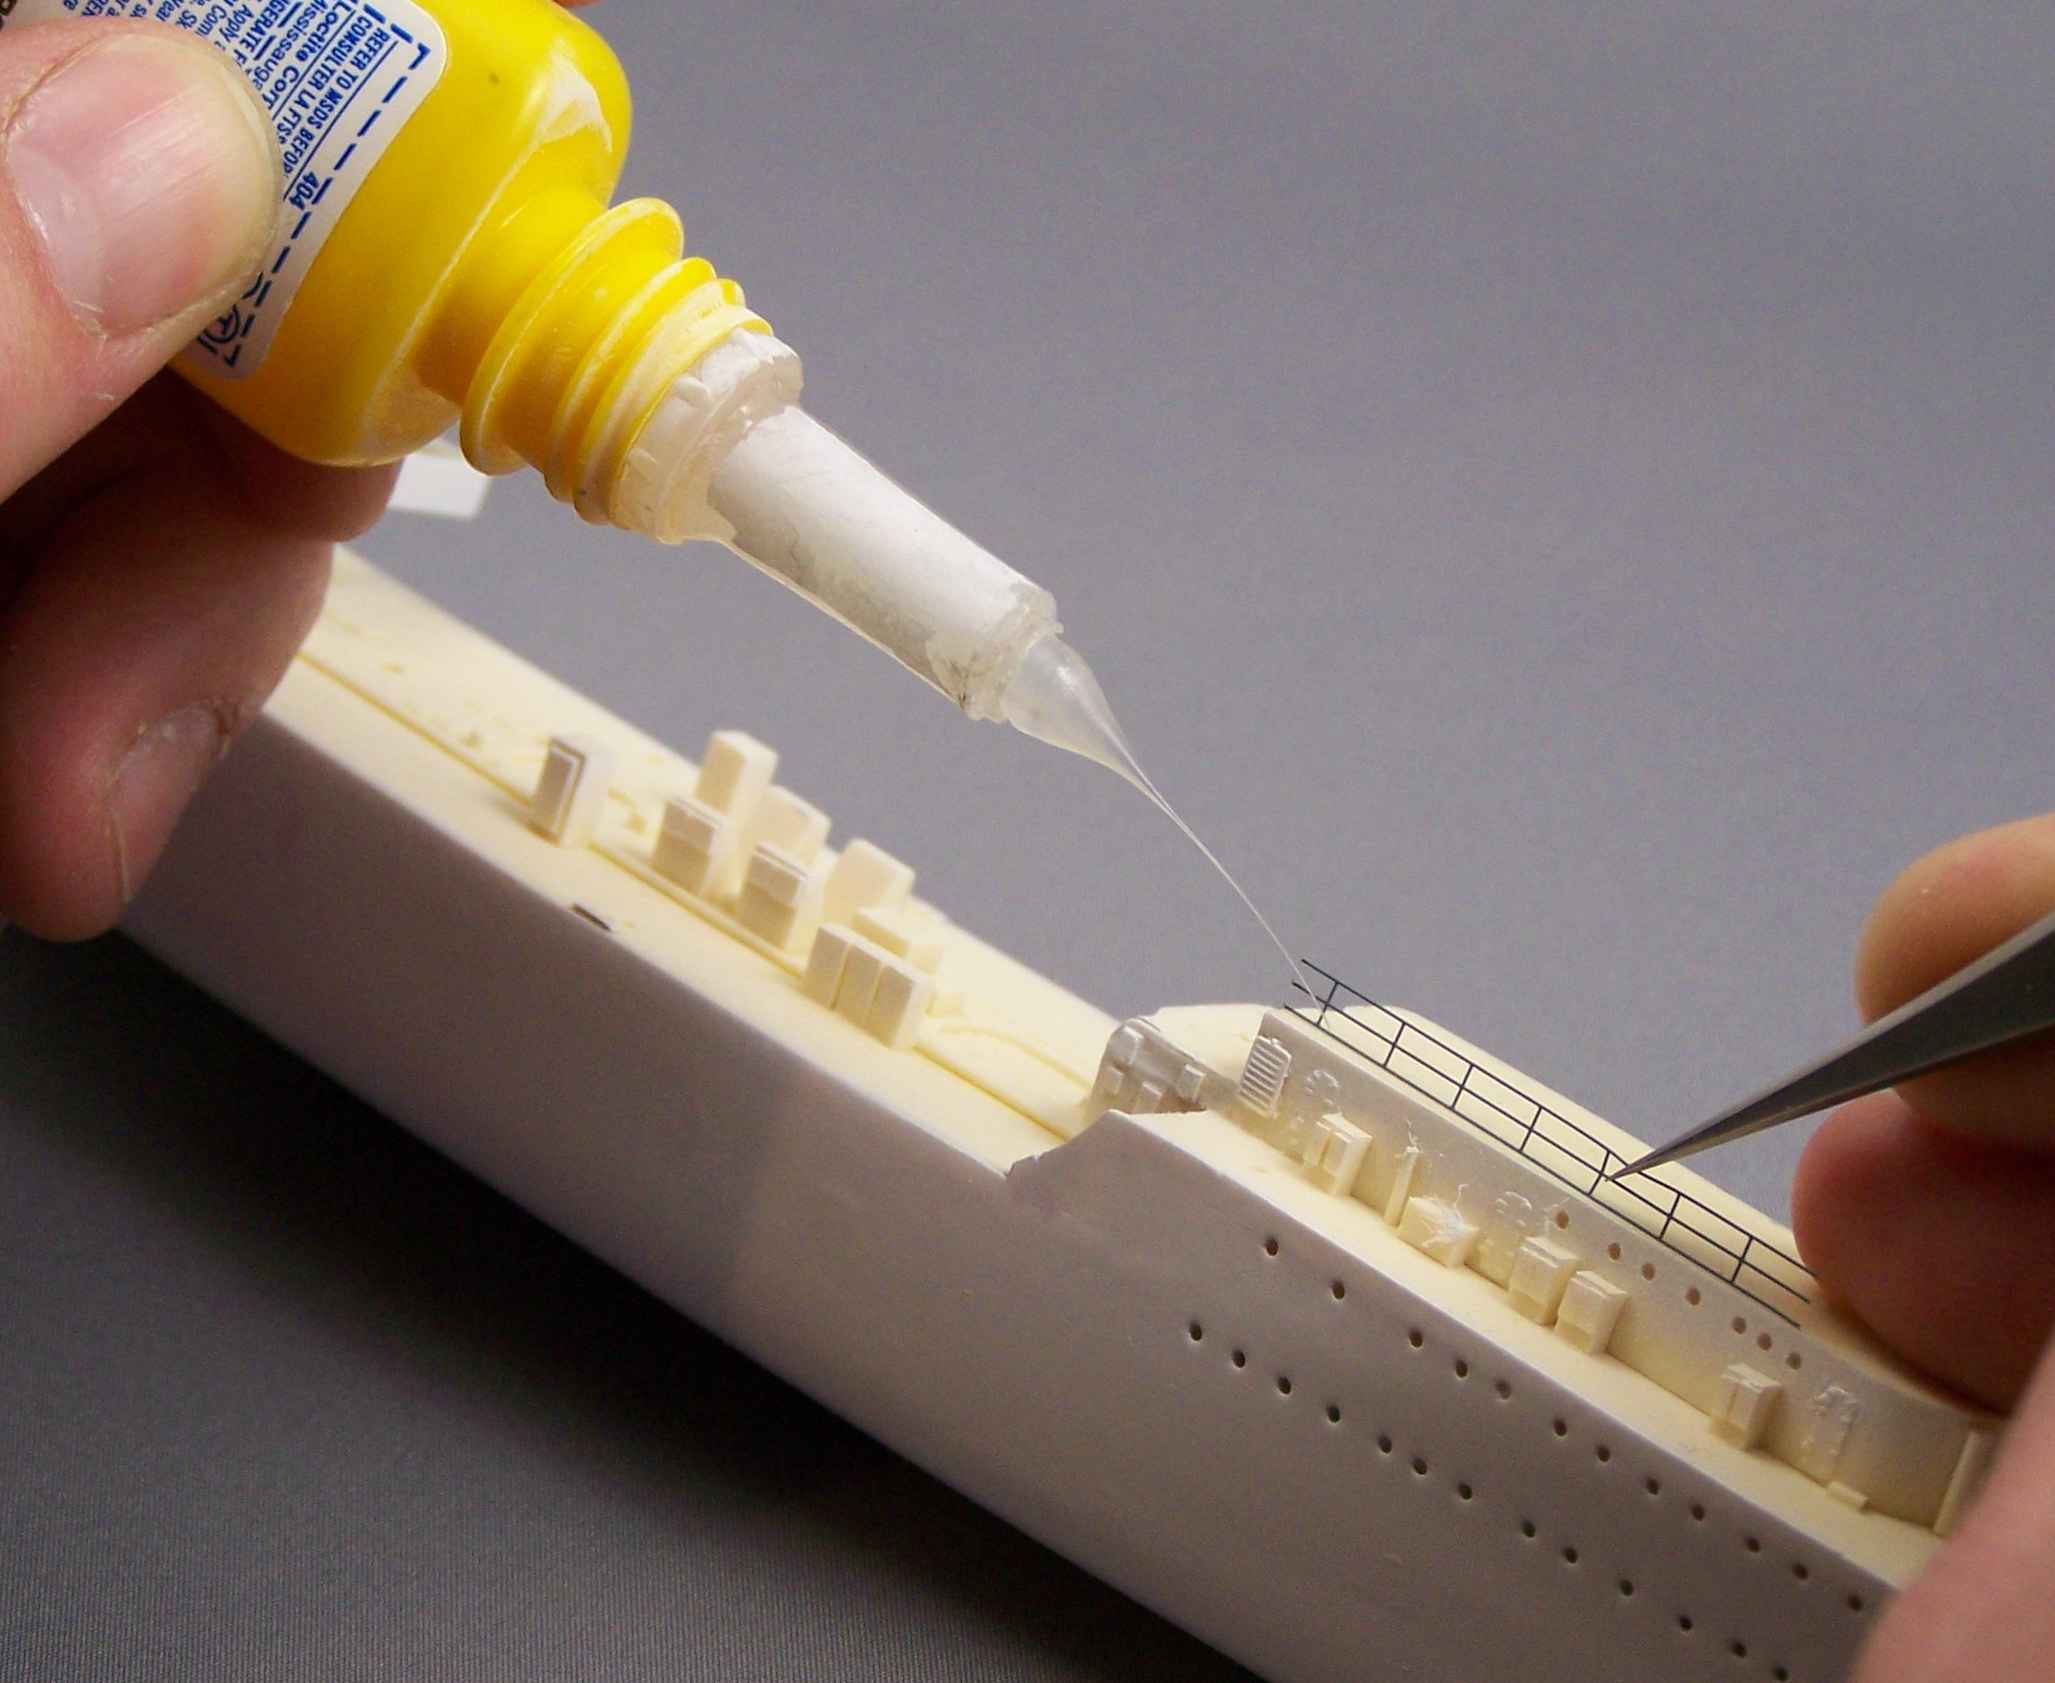
If you’re looking for the best way to control cyanoacrylate glue application, try this technique for making your own extra fine glue tip applicators!
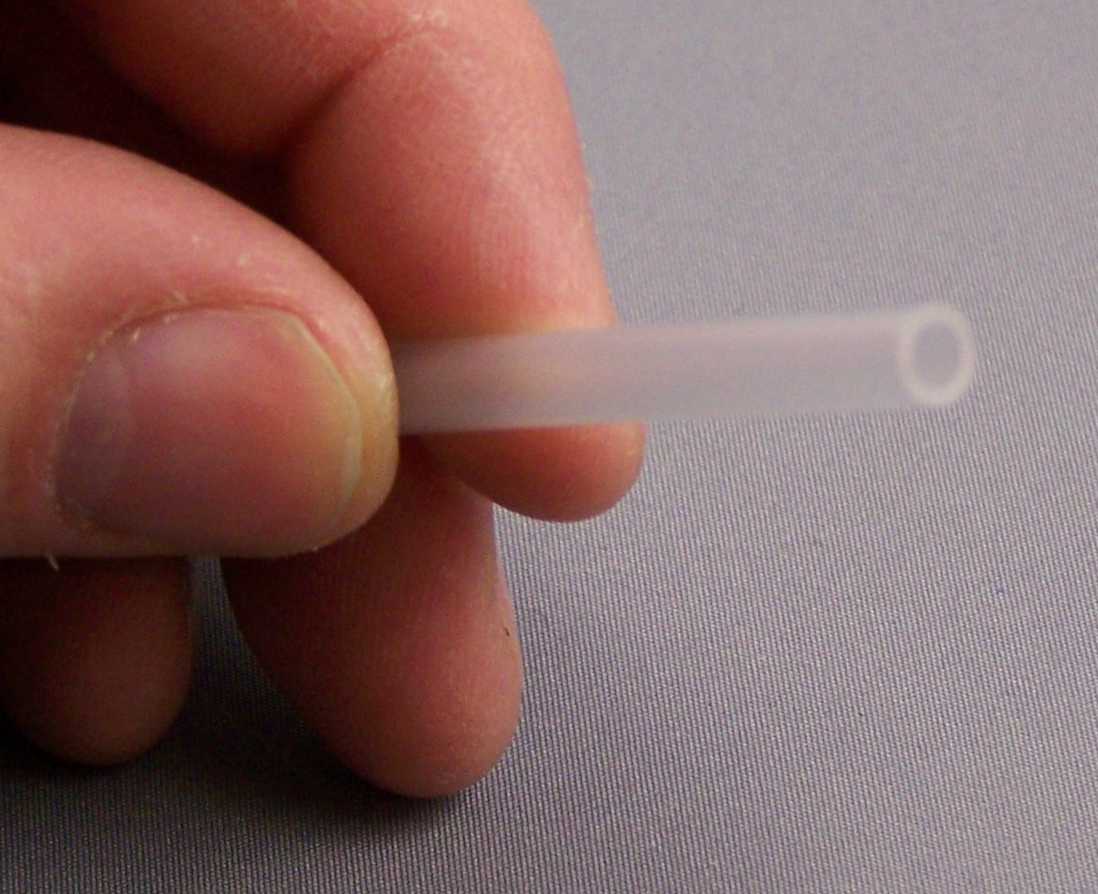
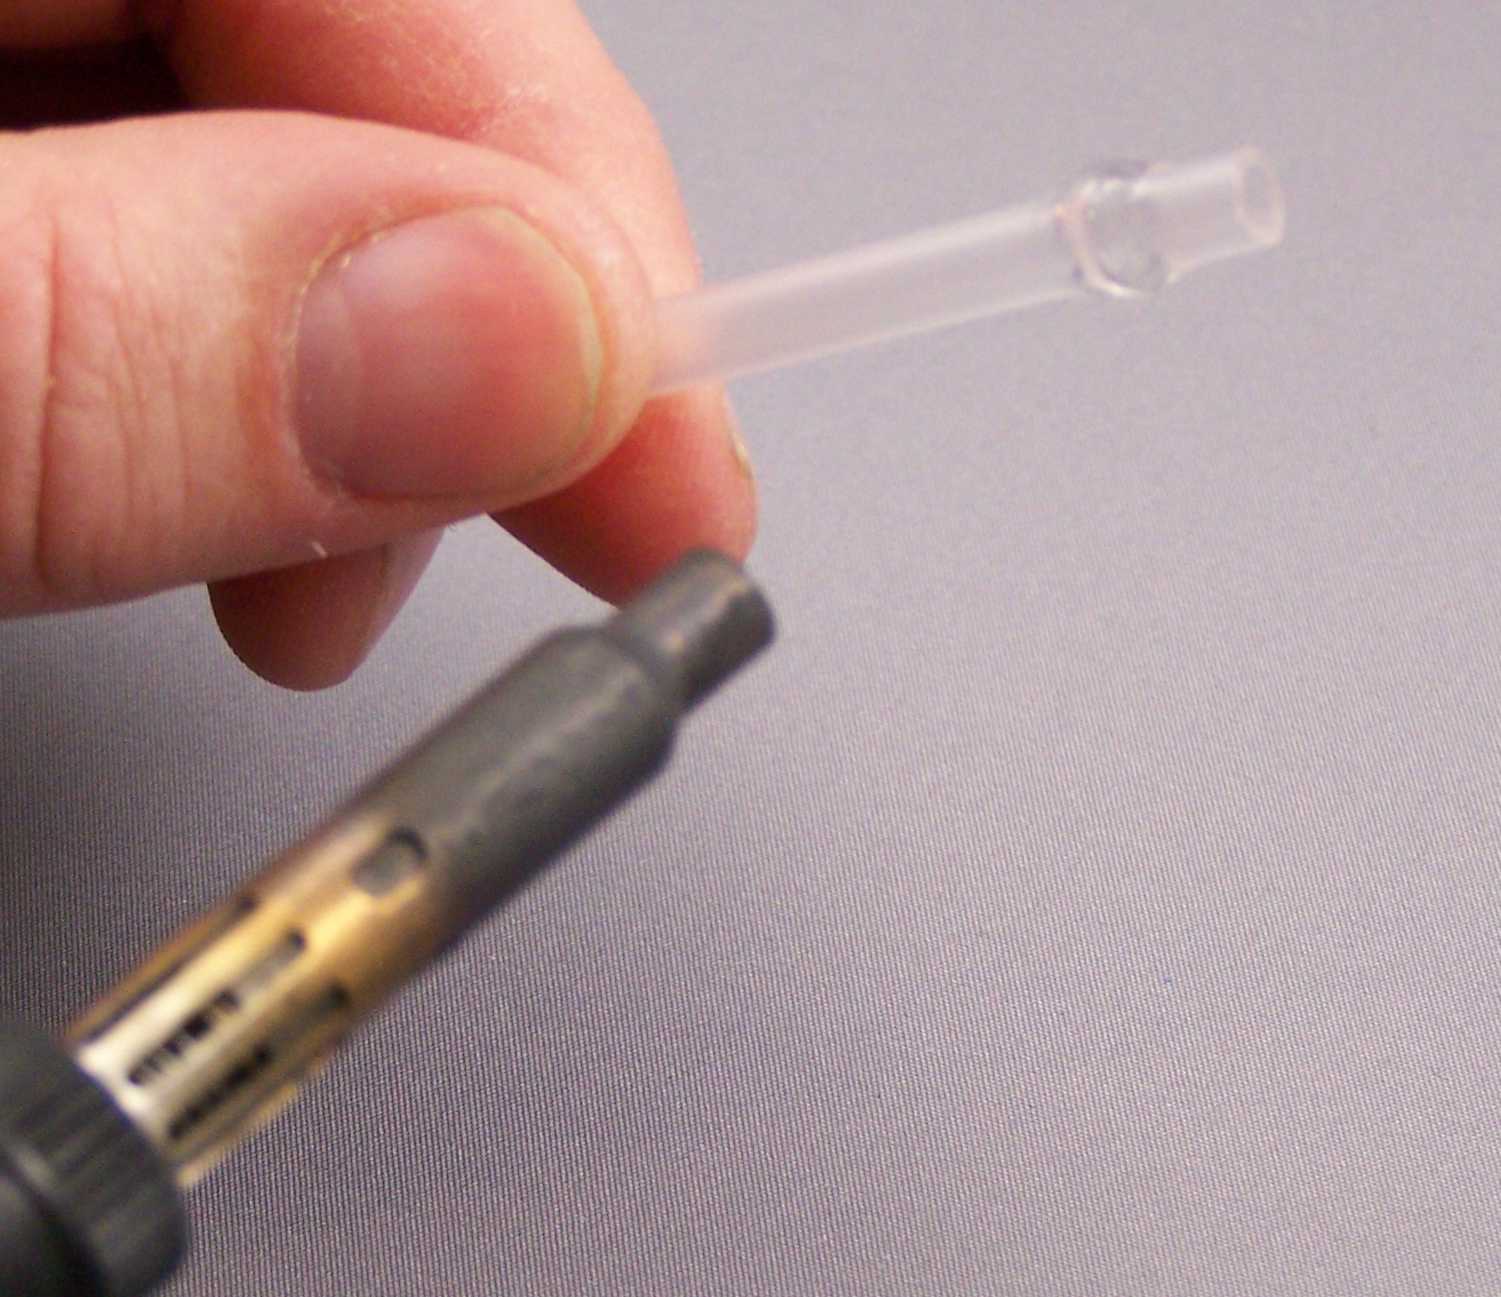
First, you need some tube. I
won’t try and
spell the chemical names, as I don’t know them all, so I’ll stick to a
basic
description. It’s a white teflon like
material that can’t be too soft or hard/brittle. I’ve tried several
types and
have found that the guide wire tube made by Dubro for RC airplanes is
about the
best. Most Hobby shops can order it in
easily enough and it’s only about a buck for a 3 foot tube. The key is,
not too big, not
too little, about 3/16" round is perfect with a wall thickness a little
under 1/16". If you have some tube like this, try it, if it doesn't
work, just keep looking for something that will.
Second, you need a heat source. A lighter can be used, but I find a Weller Pyropen JR with a heat gun tip to work better. ( it blows a small stream of hot air on the tube to soften it, without leaving any black carbon behind)
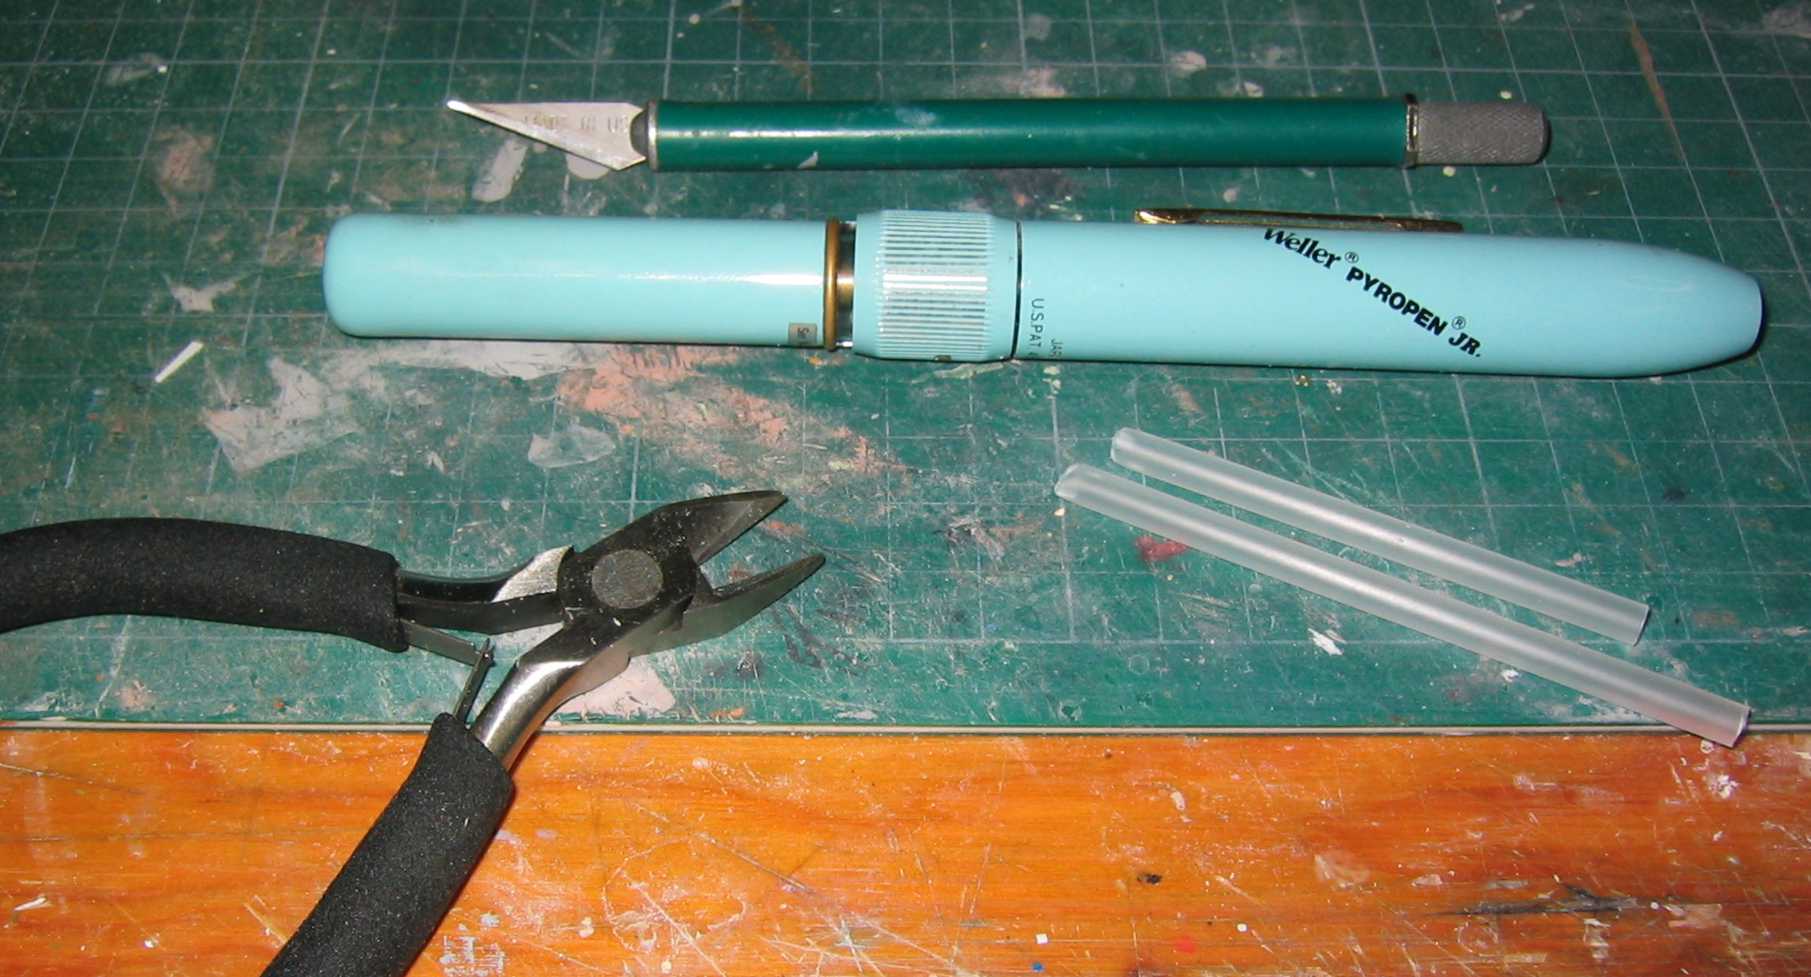
Third, you need something sharp. I use an Exacto knife with a No.11 blade, but you can use a small pair of side cutters, scalpel, razor blade or anything you find that will cut through the tube easily. (it’s not very hard, but it should have a smooth edge and after stretching it is a little delicate, that’s why a sharp No.11 blade works well.
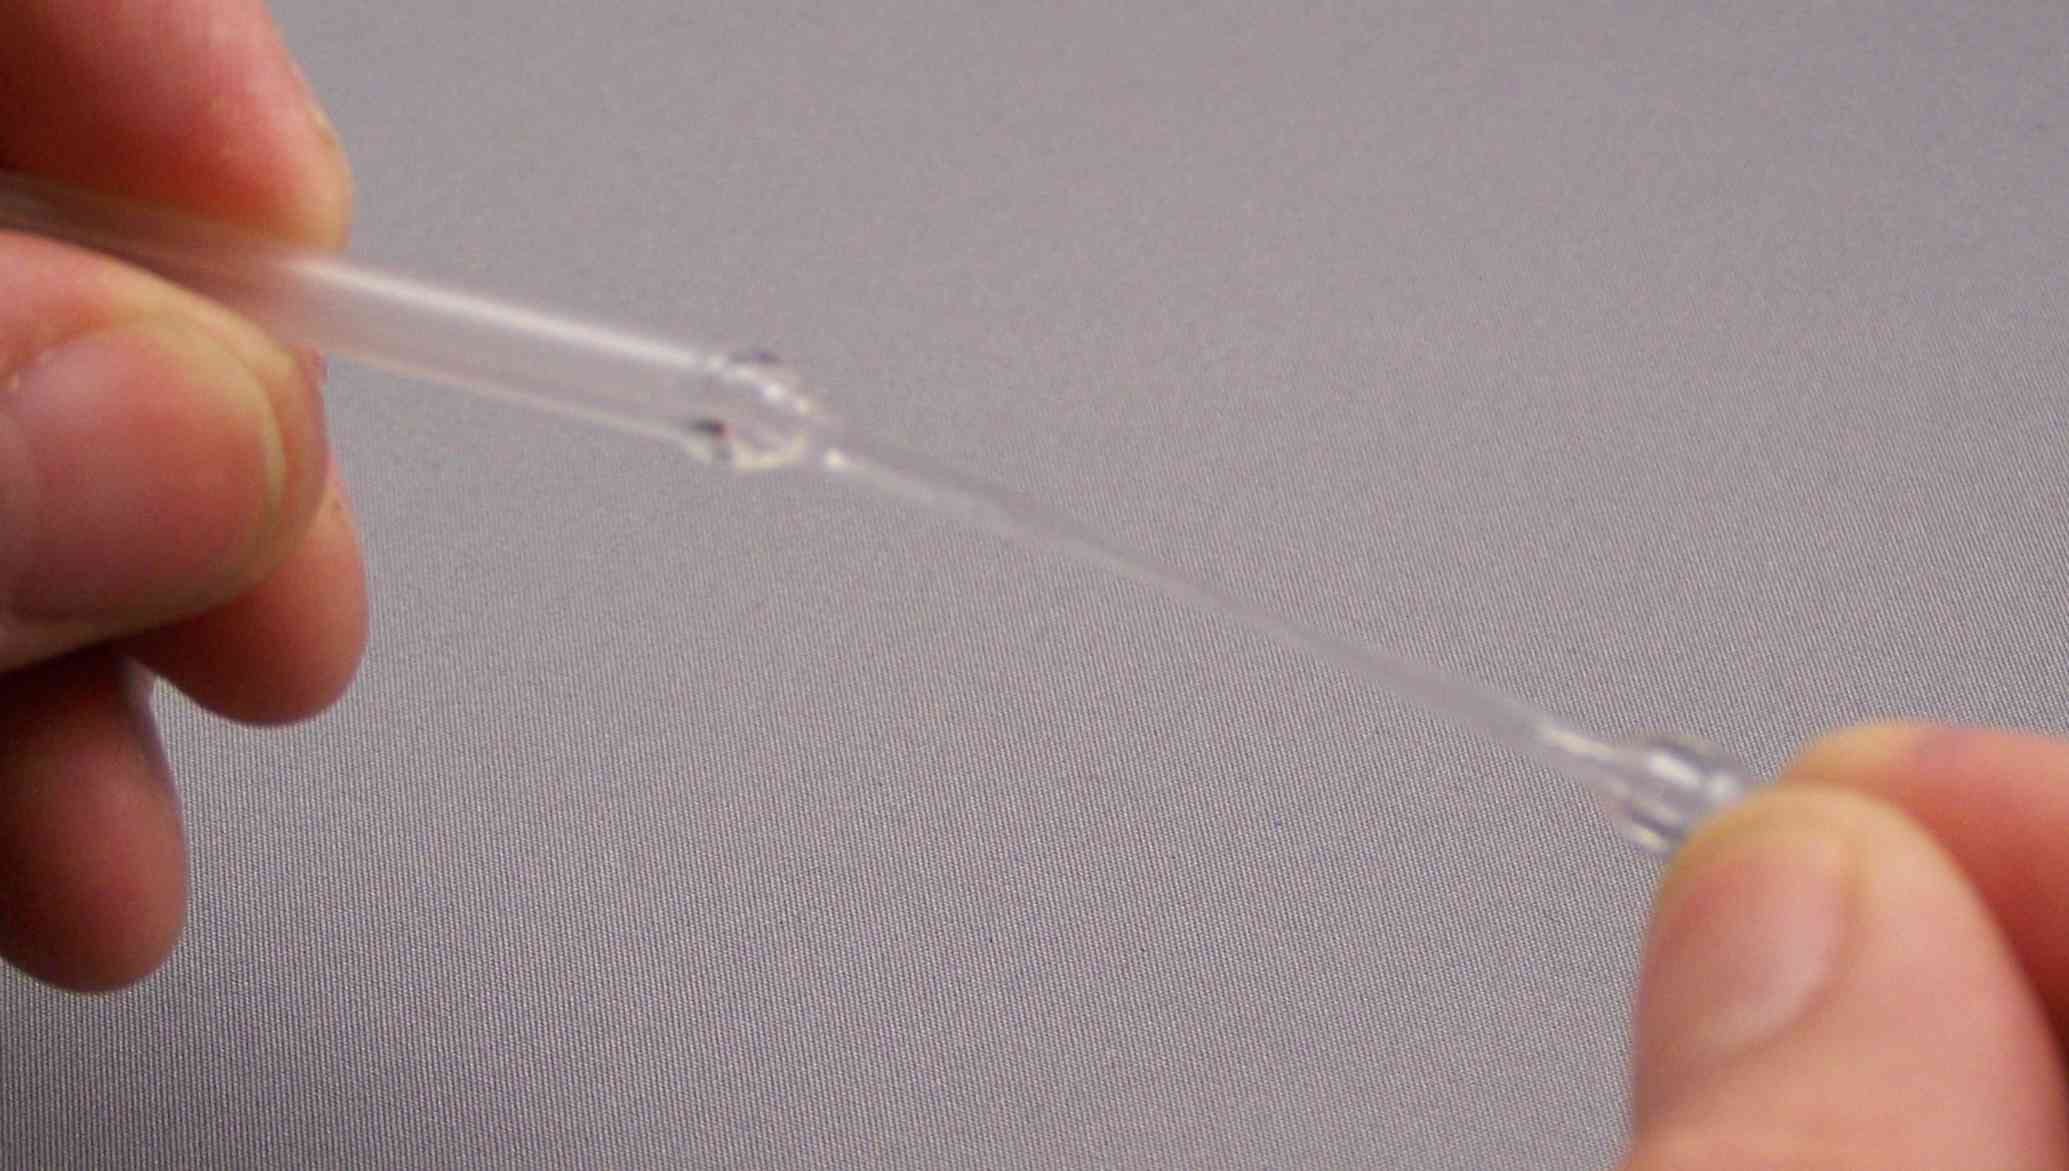
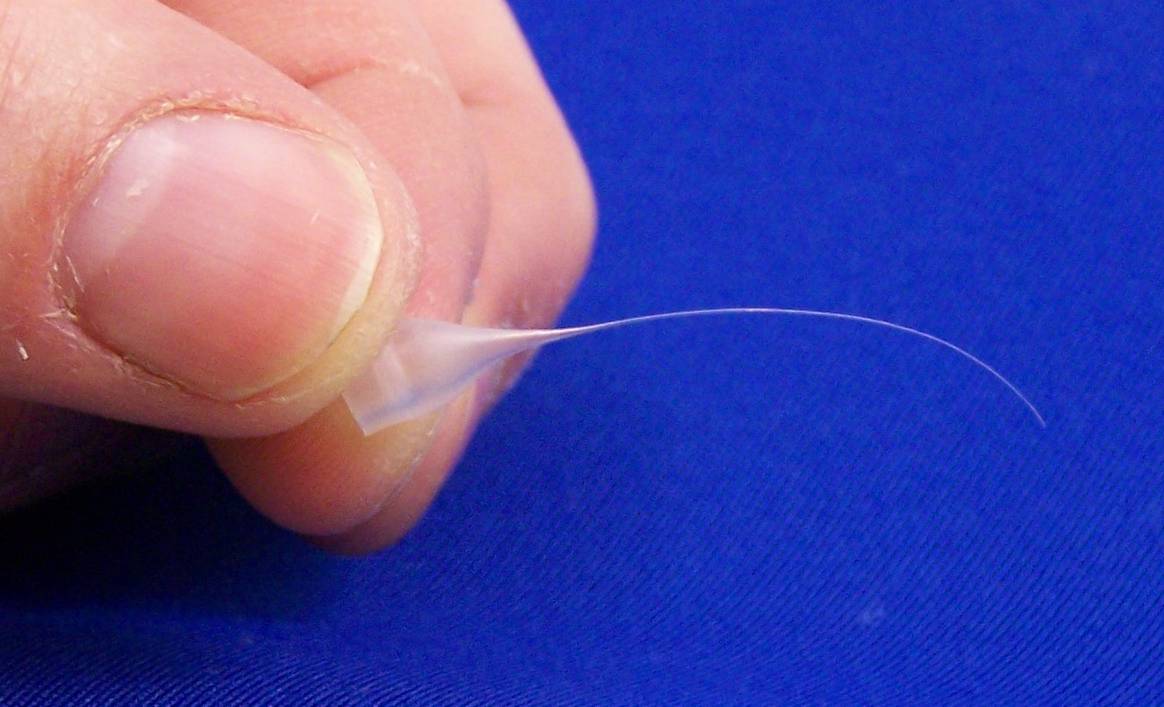
Before it cools, carefully grab
the end that is
sagging
(without touching the hot clear part!) and pull apart slowly (not too
slowly! practice!!) and gently about 2-4
inches (5-10cm). Hold steady a minute or so to allow it to cool
slightly, keep
a slight tension between the ends. Set down on a flat surface and let
cool a
few minutes.
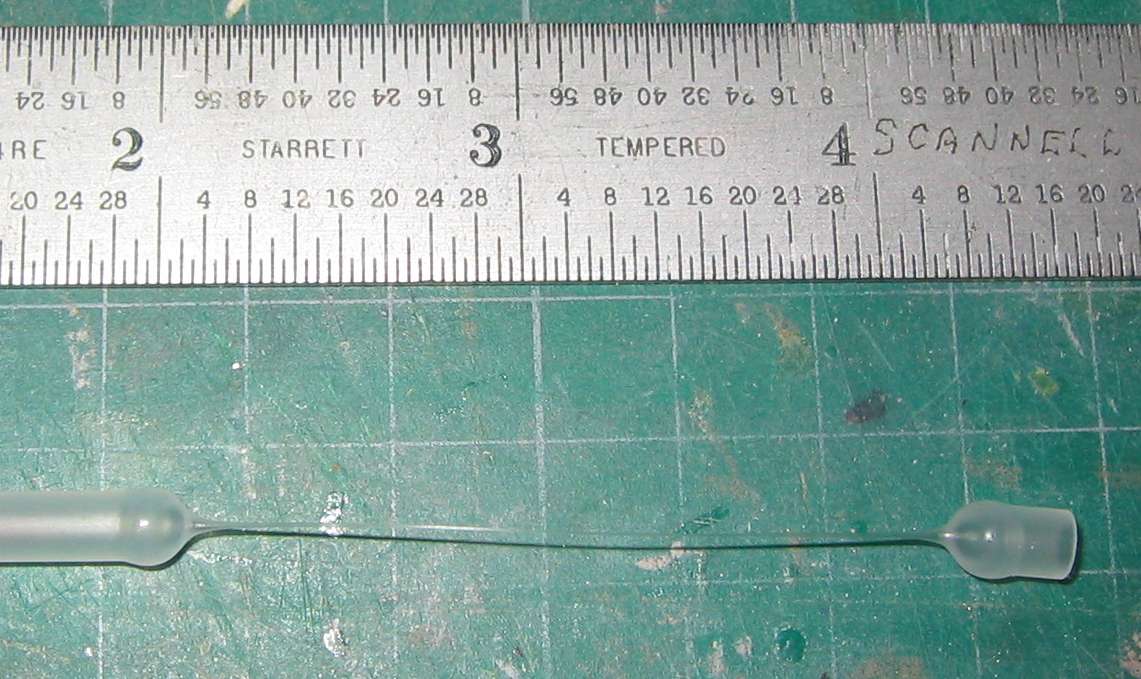
After the tube is white again,
carefully cut the center of the
stretched piece roughly in the middle of the two tube pieces.
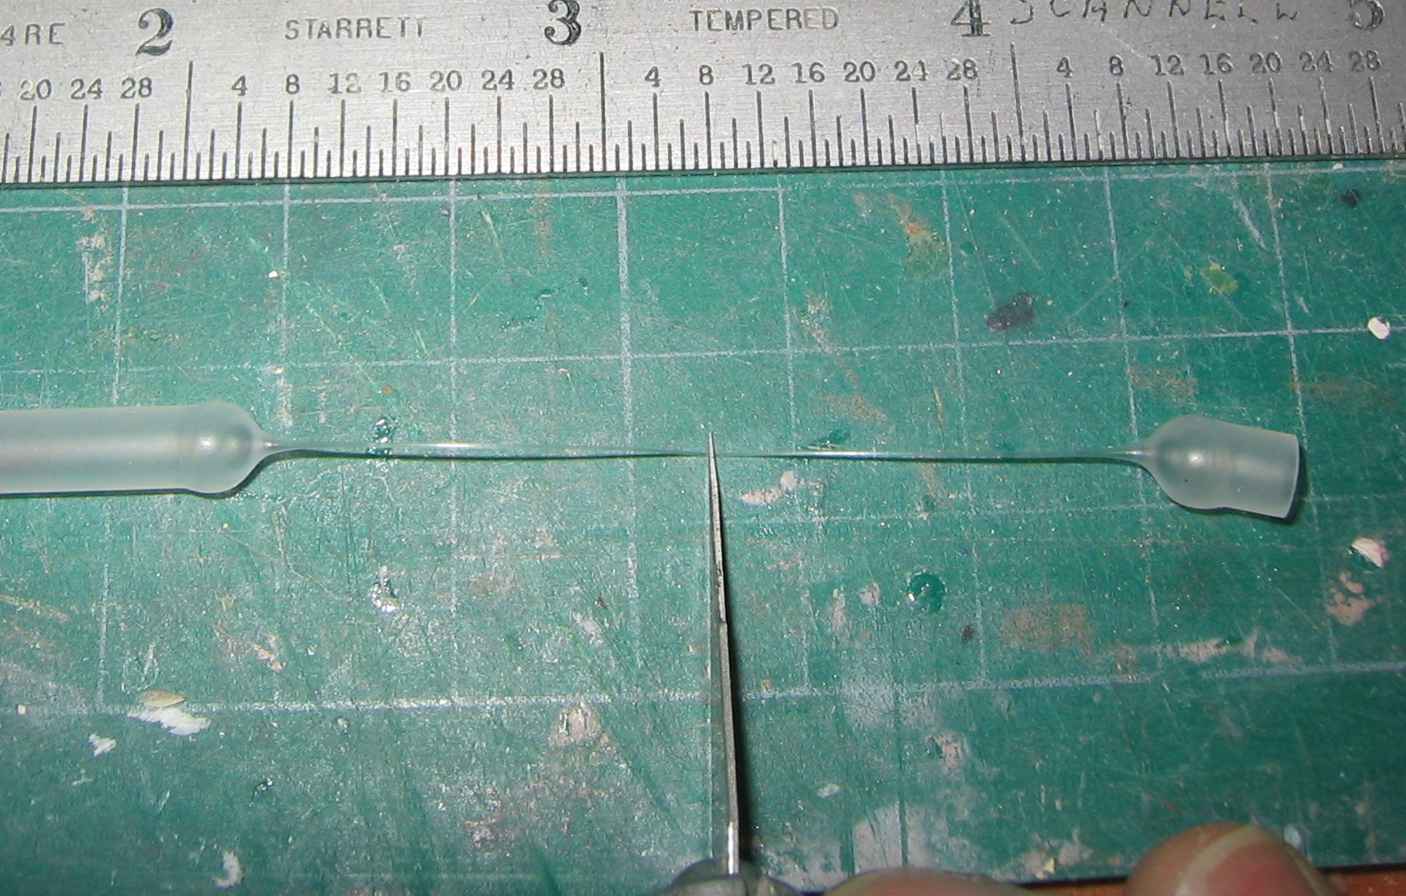
Now cut the stretched piece off the longer tube about ¼ inch (6-7mm) from the bubble. You now have two glue tips. Keeping the tube barrel short will prevent the tip from getting too stuck in the glue bottle and making it hard to remove. I cut it to be about 3/16” long. The stretched part will probably need to be trimmed as well, generally I keep them an inch long and cut off small bits as I glue, or need more flow. When it is only 1/16” long it is time to put a new one in.

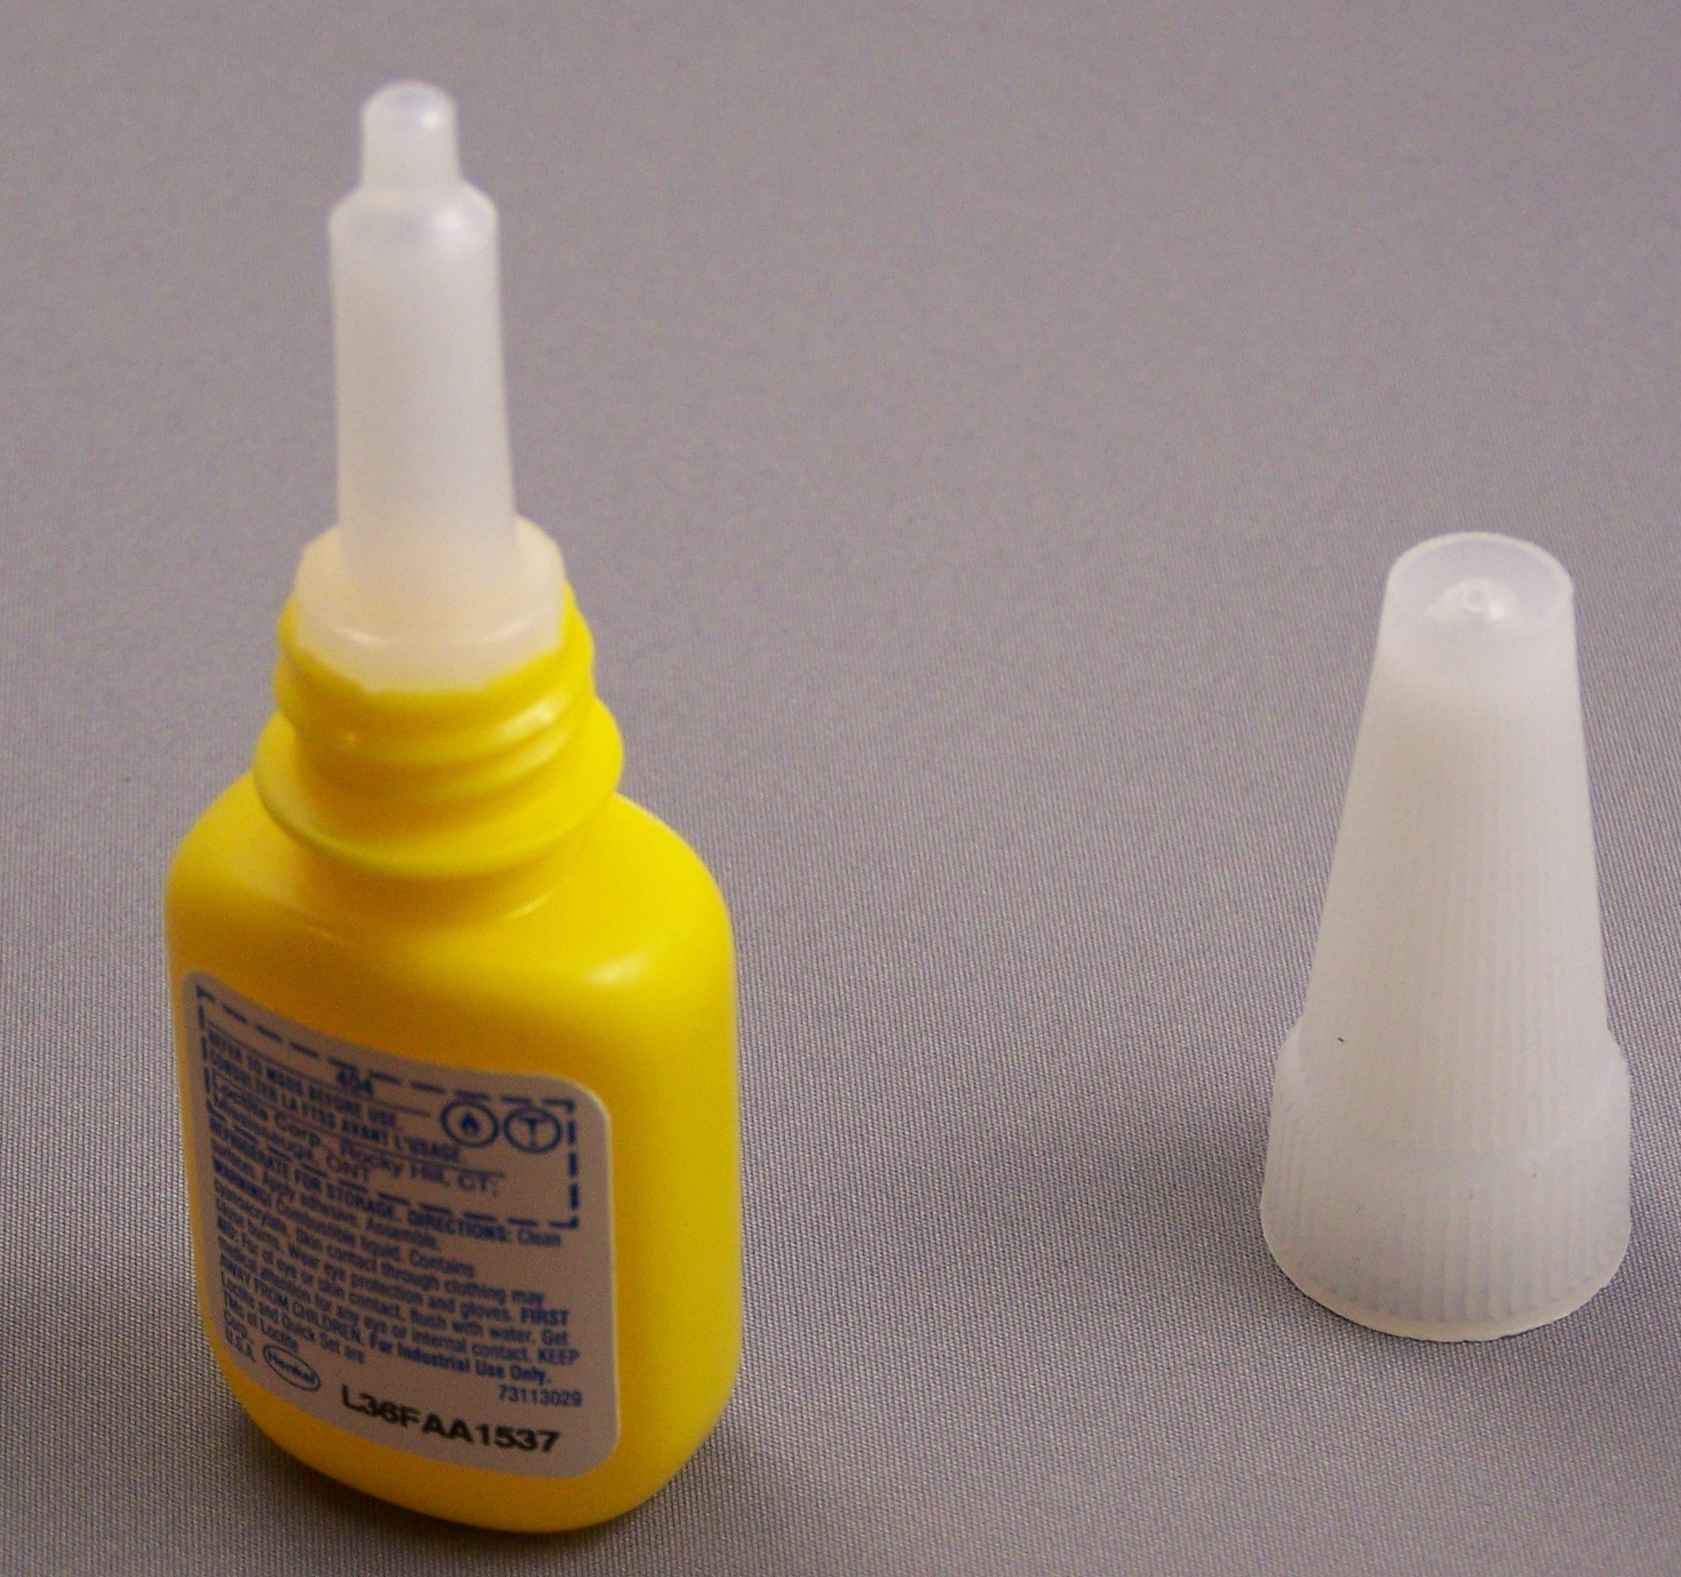
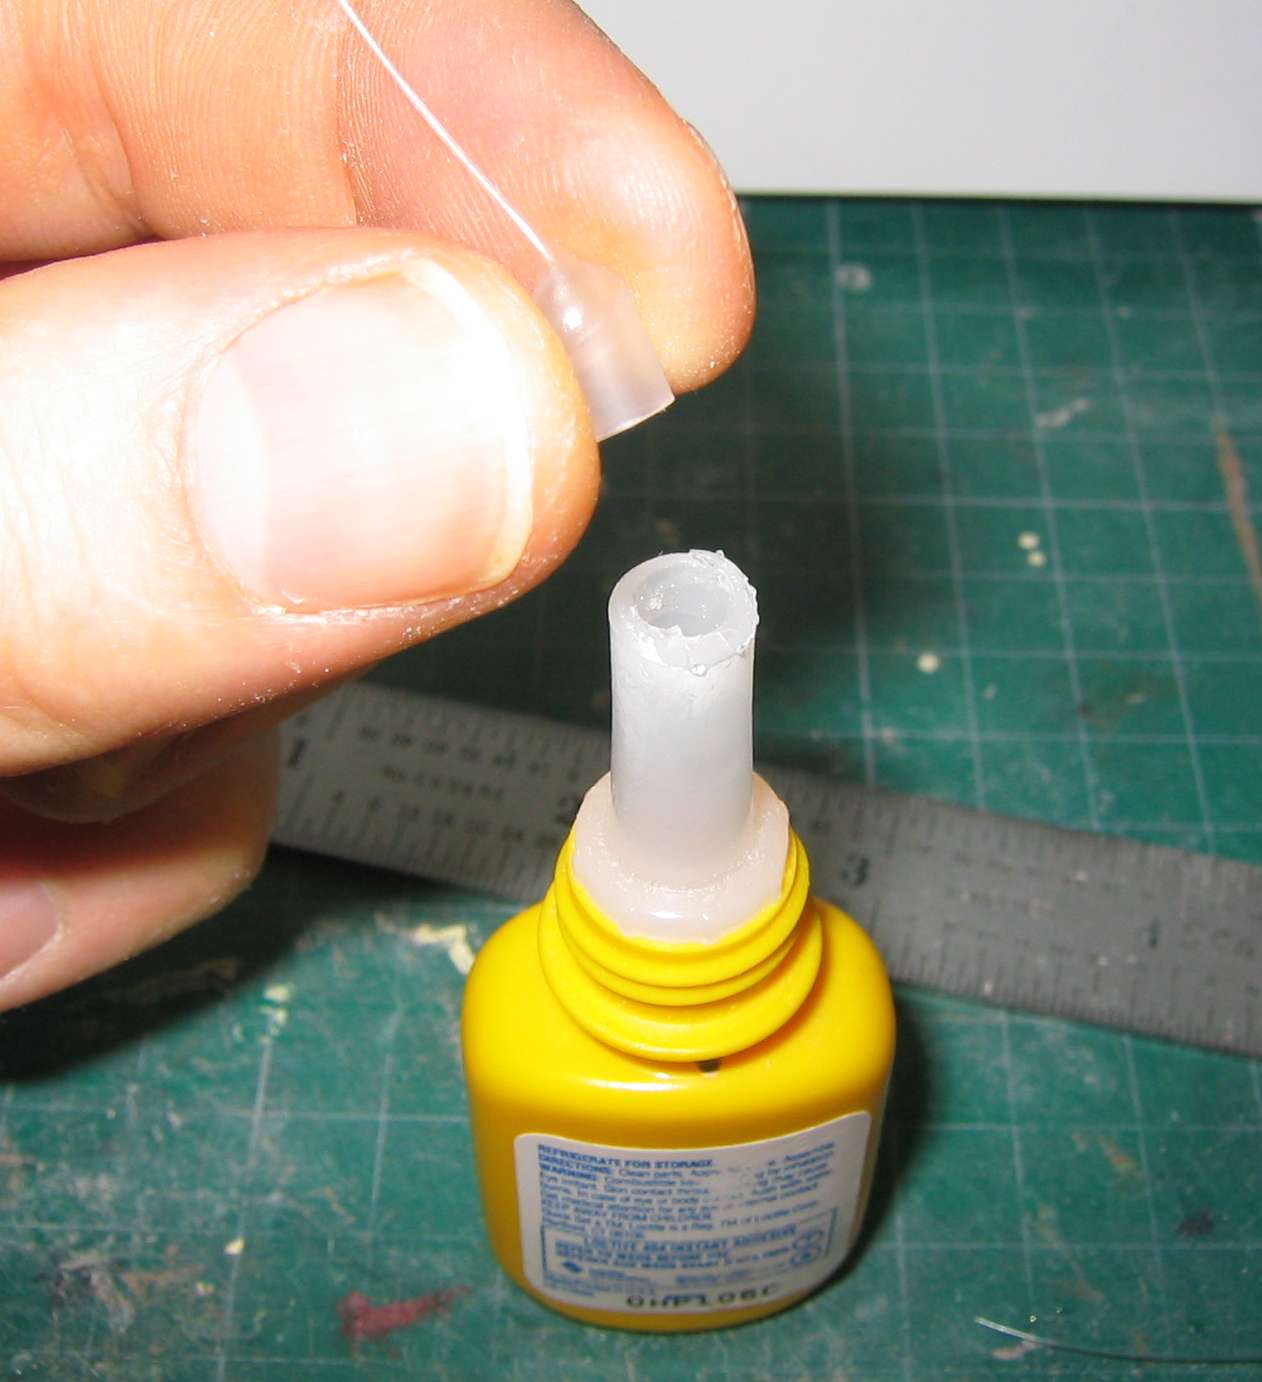
The small glue bottles I use
can have the
opening cut off and the inside diameter fits the tube nicely. Simply
press it
in and make sure it is a tight fit. If it is too loose, it may fall
out,
spilling glue all over your parts! If it is too tight and won't go in,
drill it out to the correct diameter.